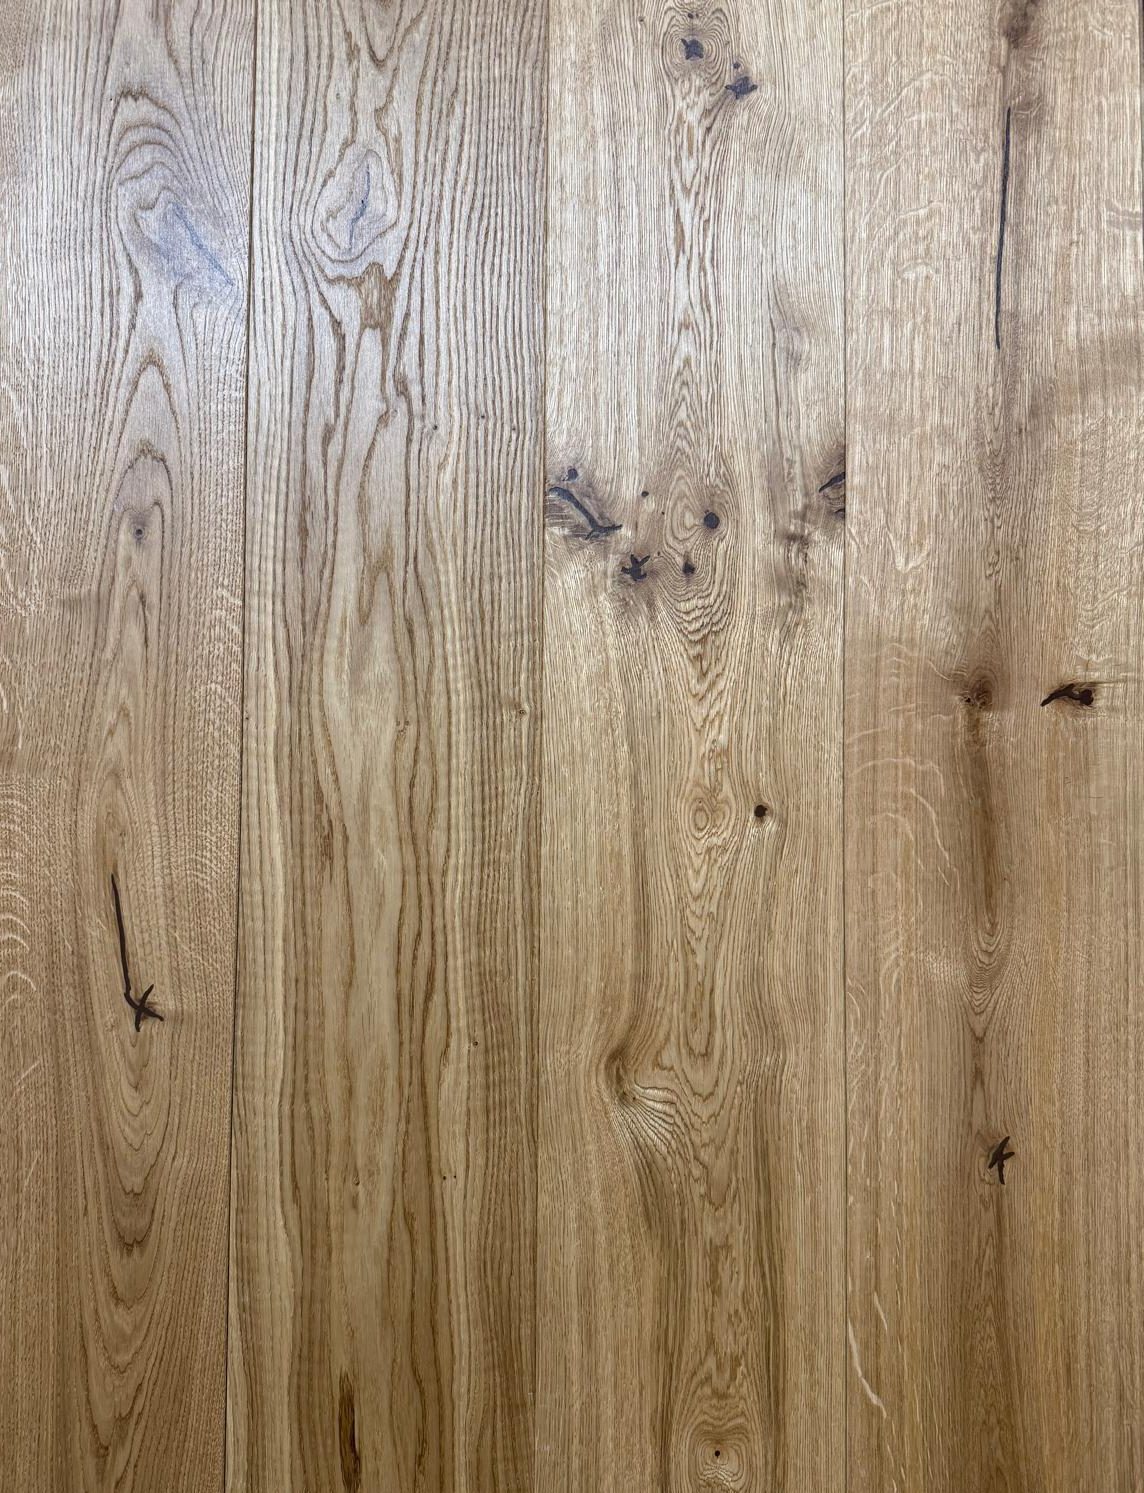
Engineered wood flooring brings warmth, character, and natural charm to any interior space. Thanks to its stable construction, it’s a durable and stylish alternative to solid wood, perfect for busy family homes, open-plan living areas, and even rooms with underfloor heating.
At Wood Connexions, we offer premium engineered flooring with two fitting options: tongue-and-groove and glue-down. Whether you’re a confident DIYer or hiring a professional, this guide will walk you through the full installation process step by step, from preparing the space to laying the last plank.
Before you begin, it’s important to gather the right tools to ensure a smooth and accurate installation. Here’s a checklist:
Having everything ready before you start helps you stay focused and efficient throughout the process.
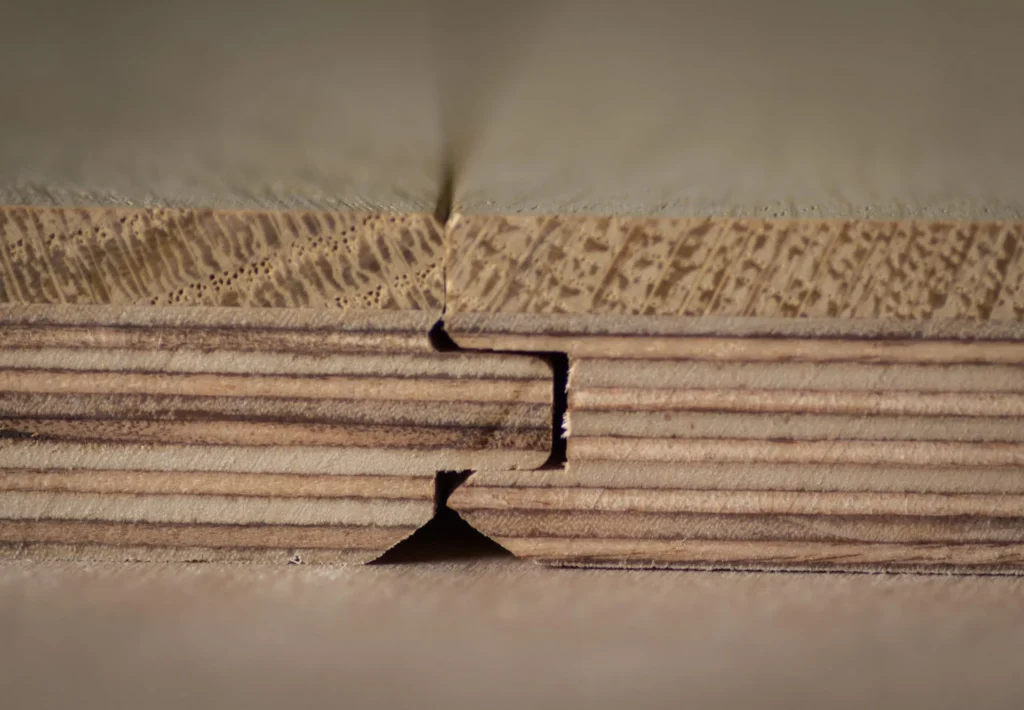
At Wood Connexions, our engineered floors come with either tongue-and-groove or glue-down fitting systems. Each offers distinct advantages depending on your subfloor type, room use, and personal preference.
This method involves fitting the boards together like a puzzle. For a floating floor, the boards are glued at the joints and laid over an underlay, without being fixed to the subfloor. It’s a popular DIY option and a quicker installation method.
Best for:
With this method, boards are adhered directly to the subfloor using a suitable wood flooring adhesive. It creates a solid, long-lasting bond and reduces the chance of movement or creaking.
Best for:
Need help deciding? Browse our Engineered Wood Flooring collection or get in touch with our team for tailored advice.
Before laying your engineered wood flooring, take time to prepare the room properly, this step is crucial for a smooth installation and long-lasting results. Start by letting your flooring acclimate for at least 48 hours in the room it will be installed. Keep the planks in their original packaging, but open the ends to allow air circulation. This helps the wood adjust to the room’s temperature and humidity, preventing expansion or shrinkage later on.
Next, check that your subfloor is clean, dry, level, and stable. Use a moisture meter to ensure it’s within acceptable limits, which is especially important if you’re installing over concrete. Remove any old floor coverings, fix any uneven spots, and vacuum thoroughly. If you’re installing a floating tongue-and-groove floor, roll out your underlay and tape the seams before laying any boards. Finally, plan your layout by mixing boards from different packs and deciding on the direction, laying planks along the longest wall or towards the main light source usually gives the best effect.
Installing engineered wood flooring may seem like a big task, but with the right preparation and guidance, it’s entirely achievable, even for first-time DIYers. At Wood Connexions, we offer two installation styles: tongue-and-groove fitting and glue-down. Below, we’ll walk you through both methods so you can confidently lay your new floor with a professional finish.
This method is ideal for those looking for a quicker, cleaner installation process. With tongue-and-groove, the boards interlock without being fixed to the subfloor, making it perfect for floating installations.
Roll out underlay in the same direction as your floorboards. Tape seams to prevent movement. Many underlays come with built-in damp-proofing, ideal for concrete subfloors.
Place your first board in a corner, with the tongue side facing out. Use spacers to maintain a 10–12mm expansion gap around the room’s edges.
Apply PVA glue to the grooves of each board and tap gently into place using a tapping block. Ensure the first row is perfectly straight—this sets the tone for the whole room.
Cut the first board of the second row to create a staggered pattern. Continue laying and glueing boards row by row, making sure to offset joins by at least 150mm.
Use a pull bar to tightly fit the final row. Measure carefully to cut boards to size. Replace skirting boards or use matching beading to cover expansion gaps.

For a more permanent and stable result, especially ideal in high-traffic areas or over underfloor heating, the glue-down method is the way to go.
Ensure it’s dust-free and completely dry. Use a vacuum and moisture meter before starting.
Spread adhesive evenly using a notched trowel, working in 1m² sections to avoid drying out before you lay the boards.
Place the first row against the wall, tongue side out, using spacers for a 10–12mm expansion gap. Press each board firmly into the adhesive.
Cut and stagger boards as you go to avoid aligning joins. Check alignment with a spirit level and tap boards into place with a mallet if needed.
Avoid walking on the floor for at least 24 hours to let the adhesive set fully.
Laying engineered wood flooring is a rewarding project that can transform the look and feel of your space. With its durability, style, and natural charm, engineered wood is a fantastic choice for both modern and traditional interiors. Whether you choose a tongue-and-groove floating system or a glue-down installation, careful preparation and attention to detail will ensure a beautiful, lasting finish.
At Wood Connexions, we offer a curated selection of premium engineered wood flooring designed to suit a range of aesthetics and spaces. Our collections are crafted with care and built to last, combining timeless design with high performance.
Need help choosing the right floor or want expert advice on fitting? Our friendly team is here to guide you through the process, from inspiration to installation. You can also get a free quote or speak to us about your upcoming project.
The Ultimate Engineered Wood Flooring Guide
How to Choose the Perfect Engineered Wood Floor for Your Home